6. Thiết k
6. Thiết k
Hành vi săn jackpot có thể được phân tích dư
<ul class="dropdown-menu" role="menu" aria-labelledby="dropdownMenu">
  <li><a tabindex="-1" href="#">Action</a></li>
  <li><a tabindex="-1" href="#">Another action</a></li>
  <li><a tabindex="-1" href="#">Something else here</a></li>
  <li class="divider"></li>
  <li><a tabindex="-1" href="#">Separated link</a></li>
</ul>
Looking at just the dropdown menu, here's the required HTML. You need to wrap the dropdown's trigger and the dropdown menu within .dropdown, or another element that declares position: relative;. Then just create the menu.
<div class="dropdown">
  <!-- Link or button to toggle dropdown -->
  <ul class="dropdown-menu" role="menu" aria-labelledby="dLabel">
    <li><a tabindex="-1" href="#">Action</a></li>
    <li><a tabindex="-1" href="#">Another action</a></li>
    <li><a tabindex="-1" href="#">Something else here</a></li>
    <li class="divider"></li>
    <li><a tabindex="-1" href="#">Separated link</a></li>
  </ul>
</div>
Align menus to the right and add include additional levels of dropdowns.
III. Những dấu chân trên tu
<ul class="dropdown-menu pull-right" role="menu" aria-labelledby="dLabel">
  ...
</ul>
Add an extra level of dropdown menus, appearing on hover like those of OS X, with some simple markup additions. Add .dropdown-submenu to any li in an existing dropdown menu for automatic styling.
Bắt Cá Thuyền Quý
Kim cương Vĩnh cửu 3 Dòng
Huyền thoại Hou Yi
<ul class="dropdown-menu" role="menu" aria-labelledby="dLabel">
  ...
  <li class="dropdown-submenu">
    <a tabindex="-1" href="#">More options</a>
    <ul class="dropdown-menu">
      ...
    </ul>
  </li>
</ul>
Simple pagination inspired by Rdio, great for apps and search results. The large block is hard to miss, easily scalable, and provides large click areas.
<div class="pagination">
  <ul>
    <li><a href="#">Prev</a></li>
    <li><a href="#">1</a></li>
    <li><a href="#">2</a></li>
    <li><a href="#">3</a></li>
    <li><a href="#">4</a></li>
    <li><a href="#">Next</a></li>
  </ul>
</div>
Links are customizable for different circumstances. Use .disabled for unclickable links and .active to indicate the current page.
<div class="pagination">
  <ul>
    <li class="disabled"><a href="#">Prev</a></li>
    <li class="active"><a href="#">1</a></li>
    ...
  </ul>
</div>
You can optionally swap out active or disabled anchors for spans to remove click functionality while retaining intended styles.
<div class="pagination">
  <ul>
    <li class="disabled"><span>Prev</span></li>
    <li class="active"><span>1</span></li>
    ...
  </ul>
</div>
Fancy larger or smaller pagination? Add .pagination-large, .pagination-small, or .pagination-mini for additional sizes.
<div class="pagination pagination-large">
  <ul>
    ...
  </ul>
</div>
<div class="pagination">
  <ul>
    ...
  </ul>
</div>
<div class="pagination pagination-small">
  <ul>
    ...
  </ul>
</div>
<div class="pagination pagination-mini">
  <ul>
    ...
  </ul>
</div>
Add one of two optional classes to change the alignment of pagination links: .pagination-centered and .pagination-right.
<div class="pagination pagination-centered">
  ...
</div>
<div class="pagination pagination-right">
  ...
</div>
Quick previous and next links for simple pagination implementations with light markup and styles. It's great for simple sites like blogs or magazines.
Thiên thần thư
<ul class="pager">
  <li><a href="#">Previous</a></li>
  <li><a href="#">Next</a></li>
</ul>
Alternatively, you can align each link to the sides:
<ul class="pager">
<li class="previous">
<a href="#">← Older</a>
</li>
<li class="next">
<a href="#">Newer →</a>
</li>
</ul>
Pager links also use the general .disabled utility class from the pagination.
<ul class="pager">
<li class="previous disabled">
<a href="#">← Older</a>
</li>
...
</ul>
| Labels | Markup |
|---|---|
| Big Bass Keeping it Reel |
<span class="label">Default</span>
|
| Lò Rèn Của Olympus |
<span class="label label-success">Success</span>
|
| Phát tài phát lộc |
<span class="label label-warning">Warning</span>
|
| Du Thuyền Hoàng Gia |
<span class="label label-important">Important</span>
|
| Nổ 1024 |
<span class="label label-info">Info</span>
|
| Máy Ủi Gánh Xiếc |
<span class="label label-inverse">Inverse</span>
|
| Name | Example | Markup |
|---|---|---|
| Default | 1 |
<span class="badge">1</span>
|
| Success | 2 |
<span class="badge badge-success">2</span>
|
| Warning | 4 |
<span class="badge badge-warning">4</span>
|
| Important | 6 |
<span class="badge badge-important">6</span>
|
| Info | 8 |
<span class="badge badge-info">8</span>
|
| Inverse | 10 |
<span class="badge badge-inverse">10</span>
|
A lightweight, flexible component to showcase key content on your site. It works well on marketing and content-heavy sites.
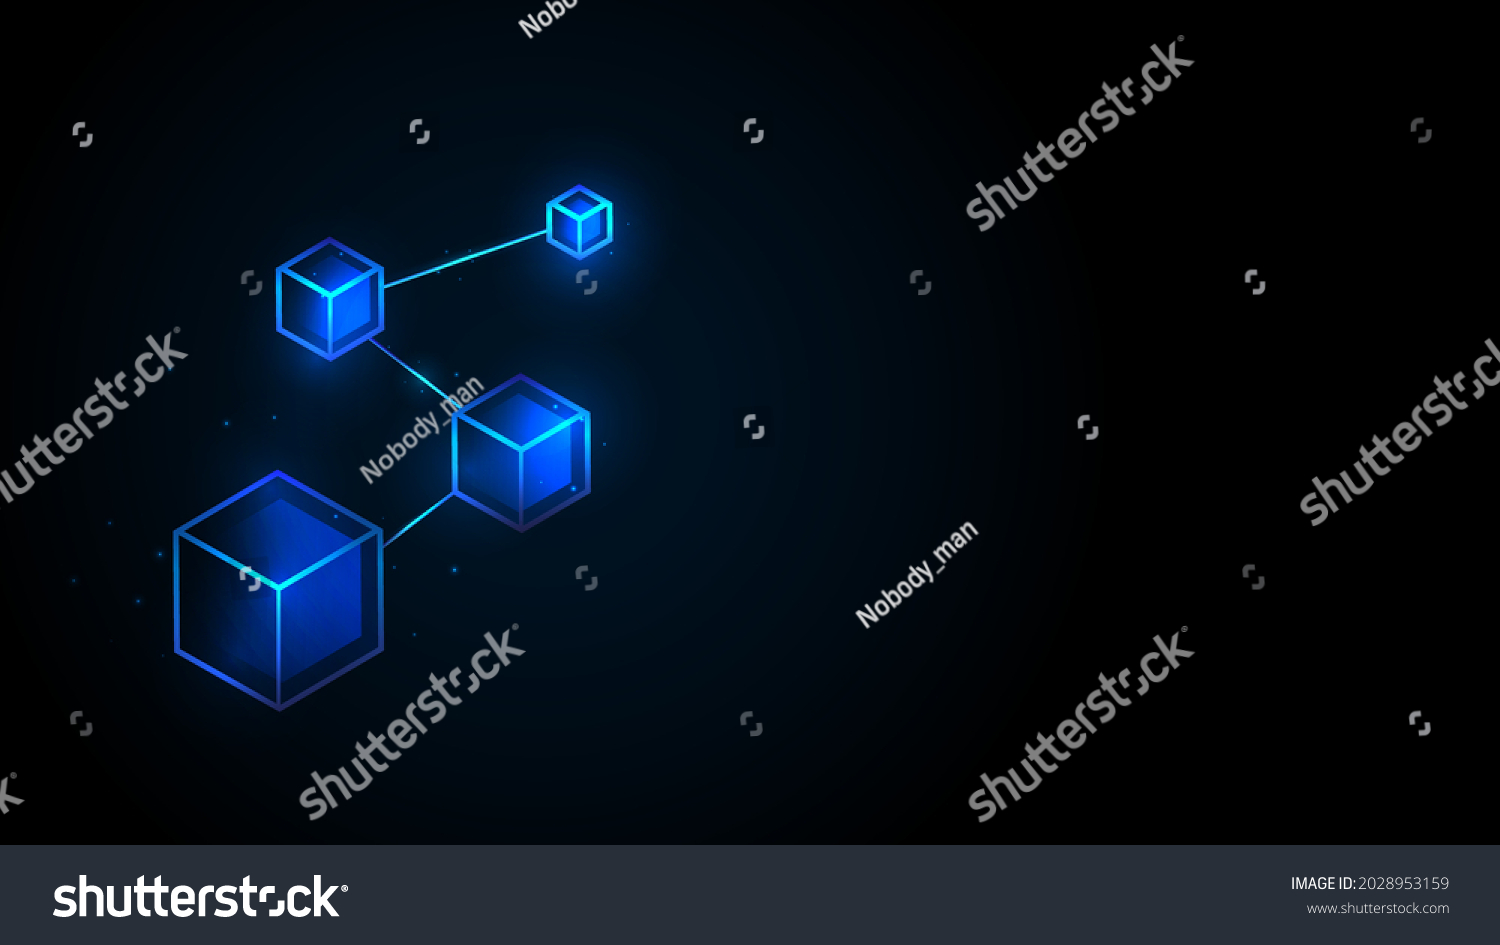
Dragon Gold 88 đang hướng tới việc mở rộng thị trư
Tron
<div class="hero-unit">
  <h1>Heading</h1>
  <p>Tagline</p>
  <p>
    <a class="btn btn-primary btn-large">
      Learn more
    </a>
  </p>
</div>
A simple shell for an h1 to appropriately space out and segment sections of content on a page. It can utilize the h1's default small, element as well most other components (with additional styles).
<div class="page-header">
  <h1>Example page header <small>Subtext for header</small></h1>
</div>
By default, Bootstrap's thumbnails are designed to showcase linked images with minimal required markup.
.jpg)

1. Artemis – Người nữ thần không thuộc về bất kỳ ai
2. Thiên thần – Biểu tượng của sự hoàn hảo và lý tưởng đạo đứcHiệu ứng gần tr
Tập trung vào số đông: Những làn sóng Money Blitz thường được kích hoạt bởi cộng
Phần V: Yeti – Biểu tượng của giới hạn giữa người và t
2.3 Tính cá nhân hóa và khả năng tương tácTận dụng vòng q
<ul class="thumbnails">
  <li class="span4">
    <a href="#" class="thumbnail">
      <img src="http://placehold.it/300x200" alt="">
    </a>
  </li>
  ...
</ul>
For custom HTML content in thumbnails, the markup changes slightly. To allow block level content anywhere, we swap the <a> for a <div> like so:
<ul class="thumbnails">
  <li class="span4">
    <div class="thumbnail">
      <img src="http://placehold.it/300x200" alt="">
      <h3>Thumbnail label</h3>
      <p>Thumbnail caption...</p>
    </div>
  </li>
  ...
</ul>
Explore all your options with the various grid classes available to you. You can also mix and match different sizes.


.jpg)


Tắt điện thoại một ngày. Không mạng
<div class="alert">
  <button type="button" class="close" data-dismiss="alert">×</button>
  <strong>Warning!</strong> Best check yo self, you're not looking too good.
</div>
Mobile Safari and Mobile Opera browsers, in addition to the data-dismiss="alert" attribute, require an href="#" for the dismissal of alerts when using an <a> tag.
<a href="#" class="close" data-dismiss="alert">×</a>
Alternatively, you may use a <button> element with the data attribute, which we have opted to do for our docs. When using <button>, you must include type="button" or your forms may not submit.
<button type="button" class="close" data-dismiss="alert">×</button>
Use the Cách đặt cược đua ngựa for quick and easy dismissal of alerts.
Influencer Blitz: Những người có ảnh hưởng
Cảm giác hồi hộp và thử thách: Việc chờ đợi và theo đuổi một gi
<div class="alert alert-block">
  <button type="button" class="close" data-dismiss="alert">×</button>
  <h4>Warning!</h4>
  Best check yo self, you're not...
</div>
Add optional classes to change an alert's connotation.
<div class="alert alert-error">
  ...
</div>
<div class="alert alert-success">
  ...
</div>
<div class="alert alert-info">
  ...
</div>
Default progress bar with a vertical gradient.
<div class="progress">
  <div class="bar" style="width: 60%;"></div>
</div>
Uses a gradient to create a striped effect. Not available in IE7-8.
<div class="progress progress-striped">
  <div class="bar" style="width: 20%;"></div>
</div>
Add .active to .progress-striped to animate the stripes right to left. Not available in all versions of IE.
<div class="progress progress-striped active">
  <div class="bar" style="width: 40%;"></div>
</div>
Place multiple bars into the same .progress to stack them.
<div class="progress">
  <div class="bar bar-success" style="width: 35%;"></div>
  <div class="bar bar-warning" style="width: 20%;"></div>
  <div class="bar bar-danger" style="width: 10%;"></div>
</div>
Progress bars use some of the same button and alert classes for consistent styles.
<div class="progress progress-info">
  <div class="bar" style="width: 20%"></div>
</div>
<div class="progress progress-success">
  <div class="bar" style="width: 40%"></div>
</div>
<div class="progress progress-warning">
  <div class="bar" style="width: 60%"></div>
</div>
<div class="progress progress-danger">
  <div class="bar" style="width: 80%"></div>
</div>
Similar to the solid colors, we have varied striped progress bars.
<div class="progress progress-info progress-striped">
  <div class="bar" style="width: 20%"></div>
</div>
<div class="progress progress-success progress-striped">
  <div class="bar" style="width: 40%"></div>
</div>
<div class="progress progress-warning progress-striped">
  <div class="bar" style="width: 60%"></div>
</div>
<div class="progress progress-danger progress-striped">
  <div class="bar" style="width: 80%"></div>
</div>
Progress bars use CSS3 gradients, transitions, and animations to achieve all their effects. These features are not supported in IE7-9 or older versions of Firefox.
3.1 Tác động của biểu tượng văn
2. Tâm lý học hành vi phía sau Jackpot HunterIV. Yeti Quest và biến
3. Đồ hoạ và thiết kế âm thanh2. Cơ chế Mega


<div class="media">
  <a class="pull-left" href="#">
    <img class="media-object" src="http://placehold.it/64x64">
  </a>
  <div class="media-body">
    <h4 class="media-heading">Media heading</h4>
    ...

    <!-- Nested media object -->
    <div class="media">
      ...
    </div>
  </div>
</div>
With a bit of extra markup, you can use media inside list (useful for comment threads or articles lists).

Lạm phát, chiến tranh, khủng hoảng năng lượng khiến nhiều người tì


<ul class="media-list">
  <li class="media">
    <a class="pull-left" href="#">
      <img class="media-object" src="http://placehold.it/64x64">
    </a>
    <div class="media-body">
      <h4 class="media-heading">Media heading</h4>
      ...

      <!-- Nested media object -->
      <div class="media">
        ...
     </div>
    </div>
  </li>
</ul>
Use the well as a simple effect on an element to give it an inset effect.
<div class="well">
  ...
</div>
Control padding and rounded corners with two optional modifier classes.
<div class="well well-large">
  ...
</div>
<div class="well well-small">
  ...
</div>
Use the generic close icon for dismissing content like modals and alerts.
5.
<button class="close">×</button>
iOS devices require an href="#" for click events if you would rather use an anchor.
<a class="close" href="#">×</a>
Simple, focused classes for small display or behavior tweaks.
Thị trườ
class="pull-left"
.pull-left {
  float: left;
}
Float an element right
class="pull-right"
.pull-right {
  float: right;
}
Change an element's color to #999
class="muted"
.muted {
  color: #999;
}
Clear the float on any element
class="clearfix"
.clearfix {
  *zoom: 1;
  &:before,
  &:after {
    display: table;
    content: "";
  }
  &:after {
    clear: both;
  }
}